Hi!

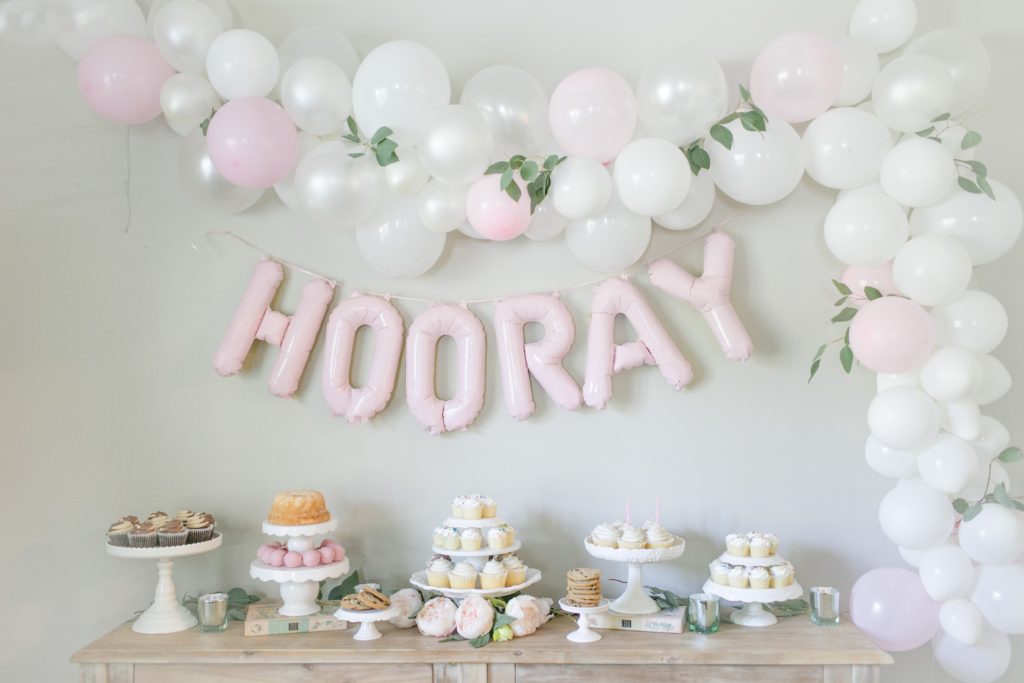
I’m excited to share this DIY Balloon Garland tutorial with y’all today because it actually ended up being pretty simple to create. You also really don’t have to be the queen of the crafty to make it happen! If you’re someone that (like me!) normally likes for things to be very exact, you’ll have to silence that part of your brain for this one. It is a little more whimsical.
Let’s jump right in!
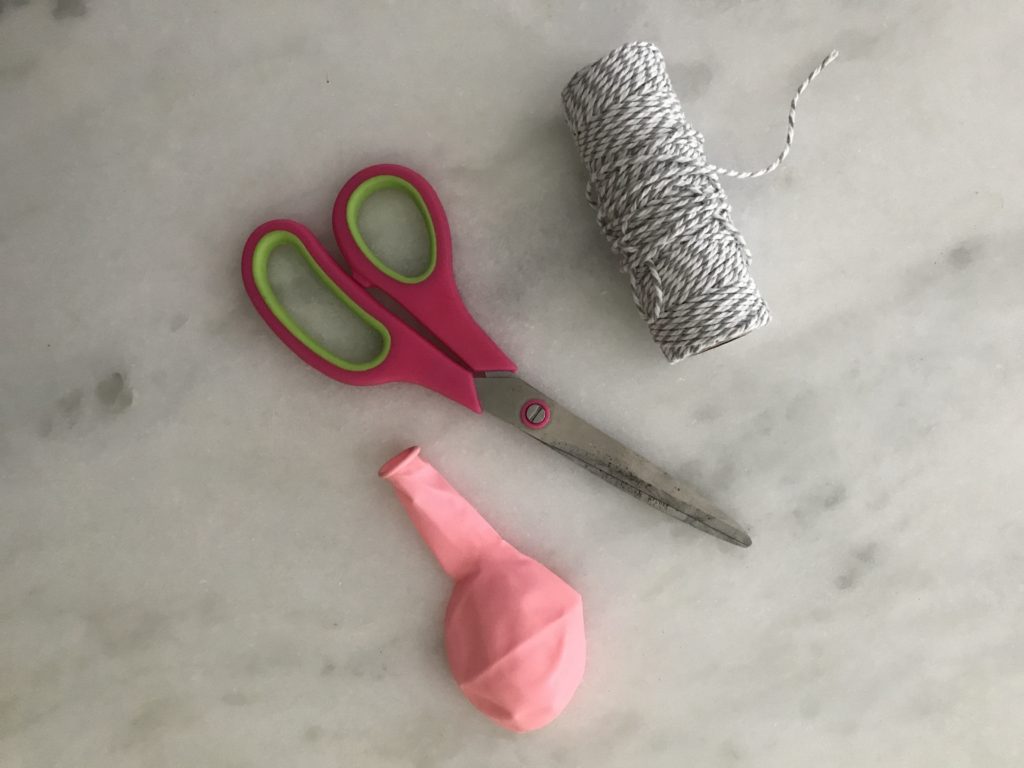
What you’ll need:
Bakers twine
80-ish Balloons (I used 40 pearl, 40 white, and just a few light pink!)
Command Hooks
Scissors
What to do:
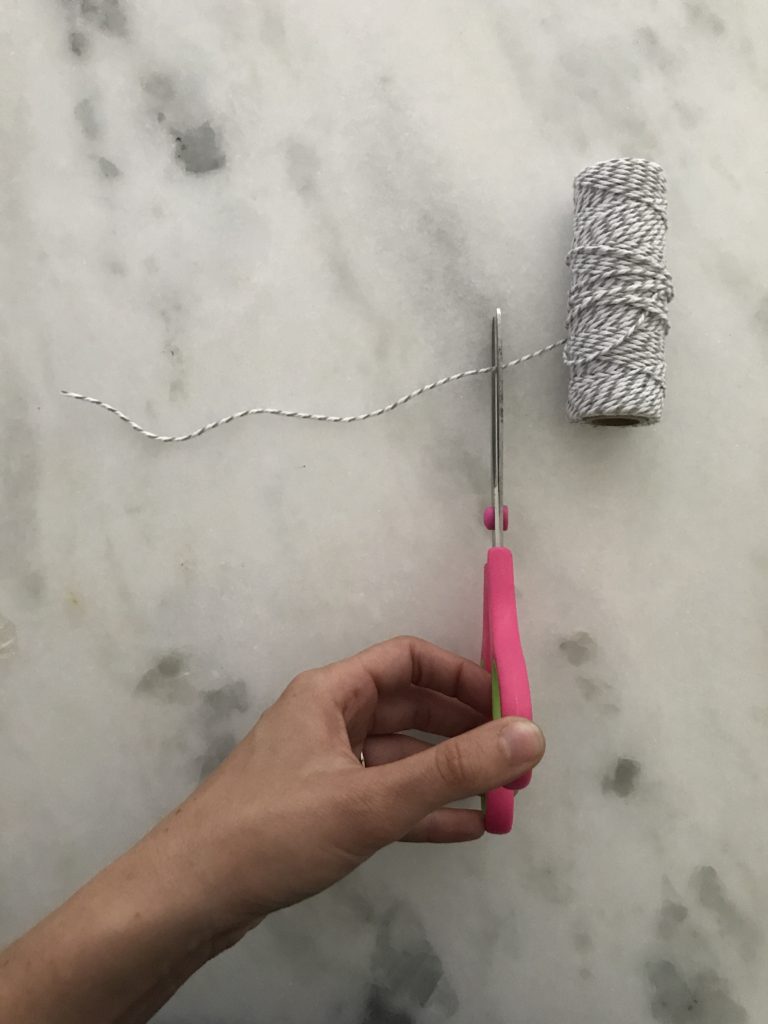
Begin by measuring your space. I took the bakers twine and stretched it across the wall and down the side and then left a few feet on each end. Go ahead and attach your command hooks to the wall so they can be settling in.
Next, you’ll want to turn on a good show and start blowing up those balloons! You can get a pump to make this process a lot less labor intensive. I didn’t even consider that so needless to say I was pretty winded by the end of it! As you’re blowing up the balloons, be sure to include four different sizes. Large, medium, small, and smaller. I know the “smaller” part sounds silly but they work great as fillers once you get to the end.
Once you’ve got all your balloons blown up, you’ll want to take your extra bakers twine and cut it into strips. You’ll need about 85 strips. One for each balloon. Tie a knot around the base of each balloon and set aside.


Now get a chair and tie one end of your previously measured twine to the top of the chair. If you have the space to spread out, you can attach the other end to another chair so the twine is suspended in air. This just makes the balloons a little easier to work with.
Now you just start taking different size balloons and tying them to the twine. Once you tie it on (double knot!), just slide it down to the end. The more you attach, the more you’ll start to see it take shape. If you’re doing a lot of one color with an accent, I would advise going ahead and adding all the same color balloons first and then at the end adding the accent color balloon.
Once all your balloons are attached, you’ll tie each end of your measured twine to the command hook and start adjusting the balloons. This will involve quite a bit of moving around but after a few minutes, you’ll get the hang of it.
I removed and reattached a few balloons to get it exactly how I wanted so don’t feel defeated if you have to do that!
I added a few sprigs of eucalyptus throughout just to give it a little more depth and texture. There’s no trick to that except just sliding them in and hoping they stay put!
I hope this helps y’all with future party planning! It’s crazy that the whole project cost less than $20 yet it was SO beautiful as a backdrop for the party!
Please let me know if you have questions about the process. I’m not balloon expert but I am happy to help where I can!
Thanks for reading!

Hi! I’m getting ready to do this for my daughter’s first birthday party. We aren’t having it at our house, but at a little venue. Do you think traveling with this would be hard? If i made it the day before? Thank you for the tutorial! We are doing confetti theme so it’s going to be so colorful with some white in there! I’m hoping it works great! I wonder if the venue allows command hooks… Anyways thank you! ☺️